You can download our Chair Pod 2.0® Installation Guide here:
Fitting requirements
To fit the Chair Pod®, you MUST have a minimum of 80mm clearance across the width of the tailgate inside the vehicle.
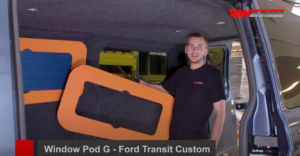
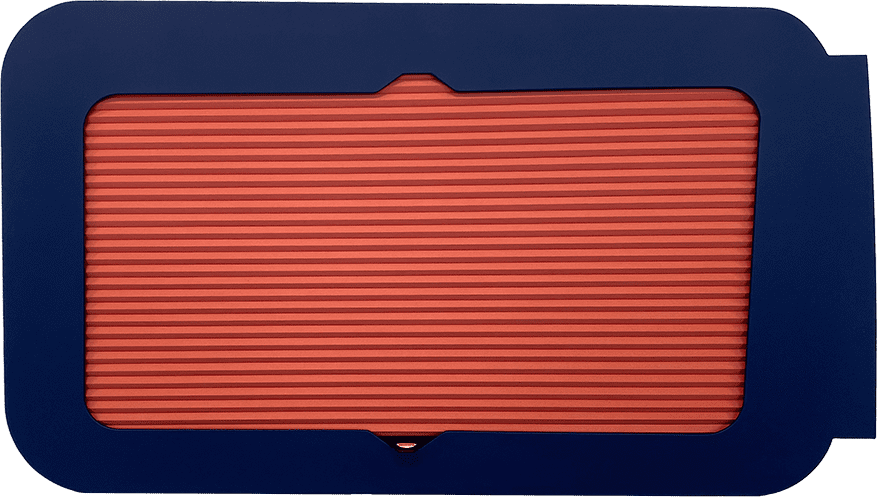
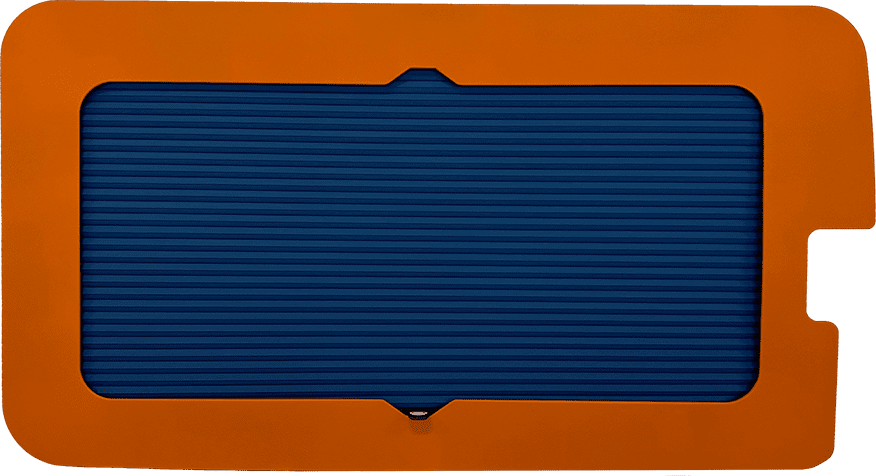
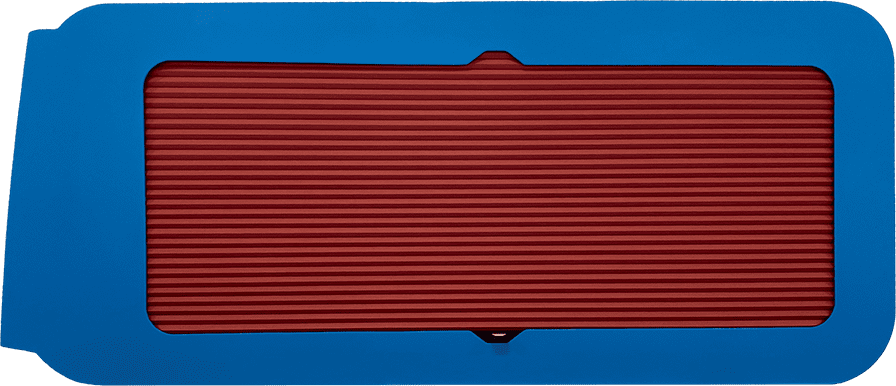
If you have a rear wash wiper, the motor housing will need removing in order fit the Chair Pod®. In this case, we recommend fitting a Window Pod to act as the new motor housing. Please note the Window Pod will need trimming down, to fit over the Chair Pod® (if both products are ordered simultaneously, our production team will supply the Window Pod trimmed). There is a raised ABS plastic guideline on the Window Pod to ensure a clean cut for any customers who haven’t ordered both products together.
Tools required
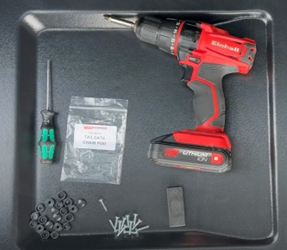
- Drill driver
- Pozi driver bit for fixings
- Torx T20 driver bit (for removal of pull-down handle)
- Drill extension bar
- Flat blade screwdriver for changing gas struts
- Plasterer board prop (or spare pair of hands)
Pre-Installation
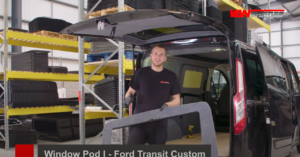
Thank you for purchasing this product from Vanshades! If at any point you need assistance after you have read the installation guide, please watch our fitting video on YouTube here. If you still require assistance, call us on 01226 872 330.
Before installing the Vanshades Chair Pod® you will need to know whether you need to make use of the cut out in the face of the product, this is for the tailgate release switch which you may have. If you don’t have the tailgate release switch on your van skip STEP 2.
You will also need to remove the pull-down handle; this is not compatible with the Chair Pod® and any ply lining you have on the tailgate. For this you will need the Torx T20 bit.
STEP 1 – Upgrading tailgate to 1250Nm gas struts (Recommended)
- Ensure weight of tailgate is supported by a prop or spare pair of hands.
- Insert flat blade screwdriver in spring clips to release and then pull strut away from vehicle.
- Do same in reverse to fix new struts starting with the top clip.
- Ensure normal action of the tailgate, this will seem difficult to operate at first, but will be easier once the Chair Pod® is installed.

STEP 2 – Tailgate release switch installation (Optional)
- To mount the tailgate release switch on the face of the Chair Pod®, you must first remove the ply lining and tailgate switch from the tailgate.
- Remove the outermost housing from the switch, this won’t be needed once the product is installed. You should be left with the switch itself with the retaining clip on the back.

- It is best to get the Chair Pod® in place for fitting before the switch installation, due to the short cable which powers the switch. You may want to do this with a prop.
- Once in place, pull the switch and cable through the hole in the face of the Chair Pod®.
- Once the Chair Pod® is installed in the correct location STEP 3, push the switch retaining clip into the cut out in the face of the Chair Pod®.
STEP 3 – Chair Pod® Installation
- Remove the chairs from the product to reduce weight prior to installation.
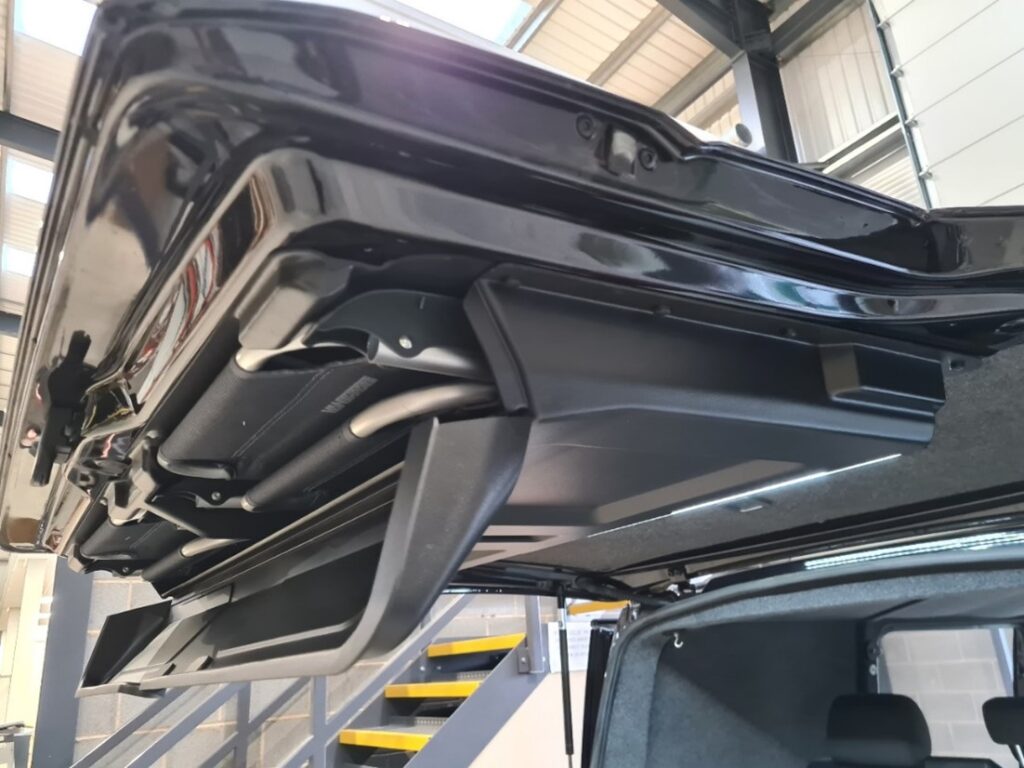
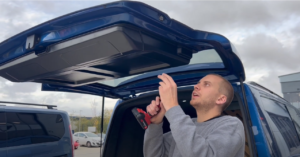
- The Chair Pod® is to be located on the lower half of the tailgate. We recommend using our fitting video on YouTube to see where the product should be located. This should be done ideally using a prop or spare pair of hands.
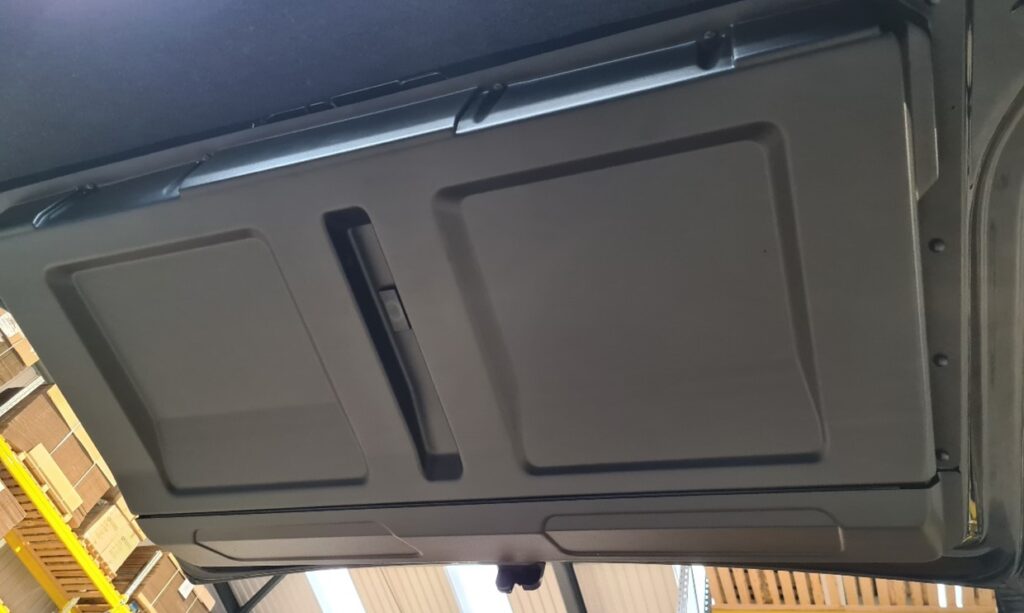
- Using the screws and caps in the fixings provided, use a drill driver to secure the fixings into the holes on the left and right side of the Chair Pod®. Ensure you put the caps behind the head of the screw before fixing. The self-drilling screws provided will easily cut into the steel of the tailgate, meaning there is no pilot drilling required for the most part, however, this may not be the case in some areas towards the top of the Chair Pod® (window side) as the steel can be thicker here.
- Once the fixings on the sides are in, you can do the same at the top of the Chair Pod® (window side). For this part, it is the same method, but you will need to use a drill extension to get the screws in.
- For the last two fixings, open the Chair Pod® lid there will be two more holes on the inside which require the same fixings.
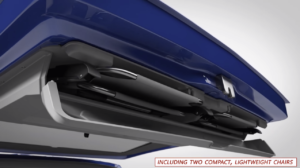
- Once all screws are fixed, place the chairs inside the Chair Pod® and you are ready to go. Be aware that the chairs can only go in one way, the back of the chair should be against the tailgate, and they should go in headfirst.
- If you didn’t require STEP 2 which is installing the tailgate release switch, you can use the blanking plug which is provided with the fixings to blank off the cut out in the face of the product.
